Since my small human was born I’ve really got into making clothes for her. They’re so satisfying! Most use almost no fabric (compared to adult sewing at least), take no time at all to whip up and they all look super cute! But she grows super quick so I’m making new sizes every few months. Thus the need for labels. I’d love to order custom ones but they can be expensive and I’d end up with loads for each size, so, I started making my own.
There are a few ways you could do this but I’ve settled on this method as I find it has a good level of adaptableness and a professional (if handmade) finish.
Materials
Cotton twill tape
Pad of permanent ink such as this versa craft/colour
I generally use 1″ cotton twill tape as this fits my logo and/or the size comfortably
Tools
Rubber stamps
Iron
Pinking shears
Method
1. Choose your stamps. I used a custom stamp that that I carved a few years ago of my logo. It’s carved in an eraser using lino cut tools. This is a great way to get a custom look without spending a lot of money but mines on it last legs and is actually starting to perish (its lasted about 6 years though). My plan is to get to same design made into a custom rubber stamp. There are a few places online and will cost about £15-30 depending on what size is needed.
I’ve also bought a couple of sets of letters and numbers to be able to do the all important sizes. As a basic set I was able to find this clear mountable letter set from hobby craft for £4. However I’ve now lost this so her are some others I’ve found useful.

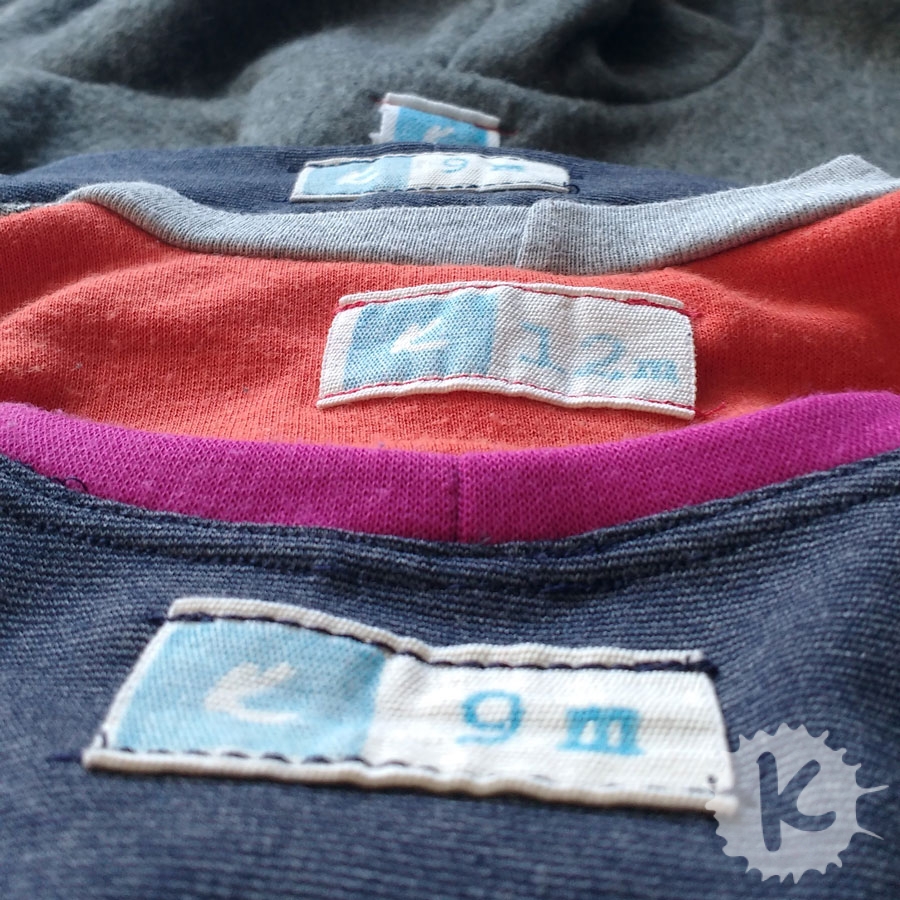
2. Plan you tags layout. Where in your clothing is best for it? Side seam? Inside neck? I’ve decided on using mine as a design element and place it on the outside, top centre of the back on tops or centre back of bands on bottoms. This also allows me to forget to put them on right to the end! This works on most clothing types and doesn’t add any bulk to the seams. Once you’ve worked out your layout start stamping! I cut my twill tape after stamping with pinking shears just over 1/2″ from the edge of the stamped design so there is enough to fold over or to be inserted into a seam.

3. Iron it. This bits important. By heat setting it, it should hold up during washing. I wash these clothes regularly (babies never stay clean) and so far none of my labels have faded or washed out. You now also need to iron it in half if inserting it into a seam or fold and iron the edges under by just under 1/2″ if sewing straight on.

4. Sew it into your clothes! As said before I like to add them to the top of the back. I simply stitch across the top and the bottom of the tag ensuring that I back stitch at the start and finish. Or you can insert into a seam during sewing.

5. Put your new clothes on and go show off your awesome handmade goodness to the world!

Don’t have any letter/number stamps? Only need to differentiate between children? Why not just use different colours instead?
